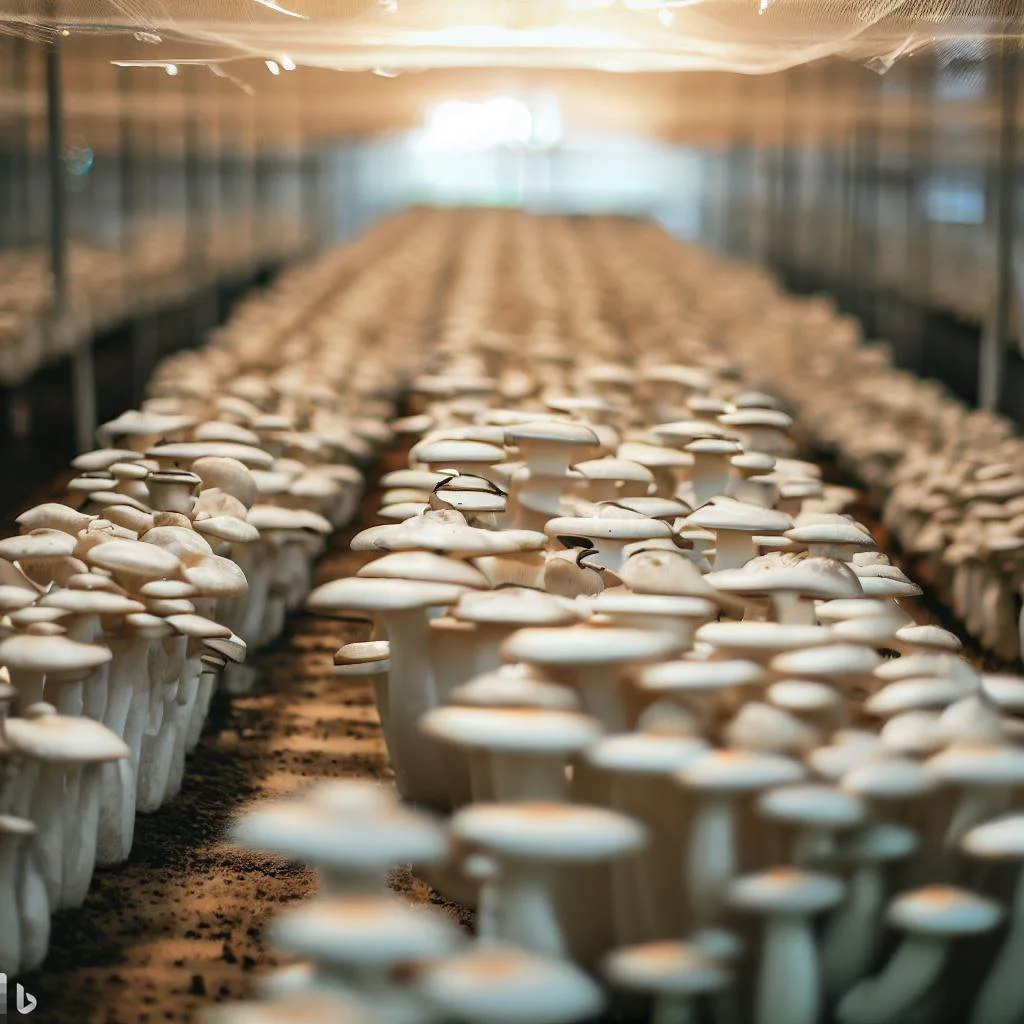
If you’re interested in growing mushrooms, oyster mushrooms are an excellent choice. These edible fungi are not only delicious but also relatively easy to cultivate, making them a popular choice among hobbyists and commercial growers alike. In this comprehensive guide, we will provide you with all the information you need to start your own oyster mushroom farm.
What are Oyster Mushrooms?
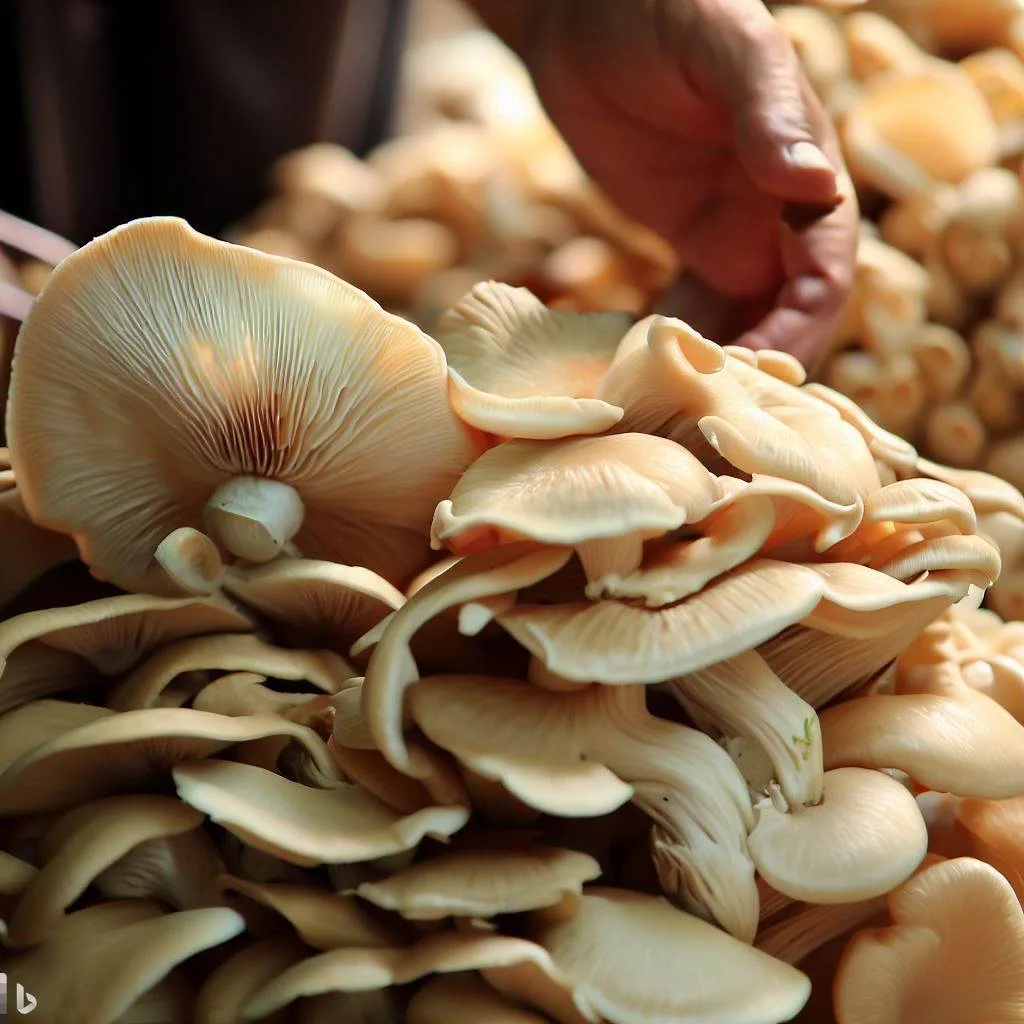
Oyster mushrooms (Pleurotus ostreatus) are a type of edible mushroom that grows in clusters, with caps that resemble oyster shells. They come in a range of colors, from grayish-brown to pinkish-tan, and have a delicate, slightly sweet flavor.
Oyster mushrooms are an excellent source of protein, fiber, and several vitamins and minerals, including potassium, iron, and vitamin B6. They also contain antioxidants and beta-glucans, which have been shown to have immune-boosting properties.
Why Grow Oyster Mushrooms?
There are several reasons why oyster mushrooms are a popular choice for home and commercial growers:
- Fast Growth: Oyster mushrooms have a relatively short growing cycle compared to other mushrooms, taking as little as 6-8 weeks from start to harvest.
- High Yield: Oyster mushrooms are known for their high yield potential, with some strains producing up to 25% of their substrate weight in mushrooms.
- Easy to Grow: Oyster mushrooms are relatively easy to cultivate, and can be grown using a variety of substrates, including straw, sawdust, and coffee grounds.
- Versatile: Oyster mushrooms can be used in a variety of culinary dishes, including stir-fries, soups, and salads, making them a popular ingredient among chefs and home cooks.

Getting Started with Oyster Mushroom Farming
Before you start your own oyster mushroom farm, there are a few things you should consider:
- Growing Space: Oyster mushrooms can be grown indoors or outdoors, depending on your climate and available space. They require a warm, humid environment with good air circulation.
- Substrate: Oyster mushrooms can be grown on a variety of substrates, including straw, sawdust, and coffee grounds. Each substrate has its own advantages and disadvantages, so it’s important to choose one that suits your needs and resources.
- Spawn: Oyster mushrooms are grown from spawn, which is a culture of mushroom mycelium that has been grown on a nutrient-rich substrate. You can purchase spawn from a mushroom supplier or make your own using a sterilized substrate.
- Tools and Supplies: You’ll need a few basic tools and supplies to get started, including a pressure cooker or sterilization unit, containers for growing, and a thermometer and hygrometer to monitor temperature and humidity.
Growing Oyster Mushrooms: Step-by-Step
Here’s a step-by-step guide to growing oyster mushrooms:
- Prepare the Substrate: Choose a substrate that suits your needs and resources, and prepare it according to the supplier’s instructions. This may involve sterilizing the substrate using a pressure cooker or sterilization unit.
- Inoculate the Substrate: Once your substrate is ready, you can inoculate it with a spawn. This involves mixing the spawn with the substrate and packing it into containers.
- Incubate the Spawn: The inoculated substrate should be placed in a warm, humid environment for the mycelium to colonize. This can take anywhere from a few days to a few weeks, depending on the substrate and temperature.
- Introduce Fresh Air: Once the mycelium has colonized the substrate, it’s time to introduce fresh air to stimulate fruiting. This can be done by creating holes in the containers or by placing them in a fruiting chamber with good air circulation.
- Maintain Humidity and Temperature: Oyster mushrooms require a warm, humid environment to fruit. The ideal temperature range is between 60-75°F (15-24°C), with humidity levels around 85-90%. This can be achieved by misting the substrate with water or by using a humidifier.
- Harvest the Mushrooms: Oyster mushrooms will start to form fruiting bodies (mushrooms) within a few weeks of introducing fresh air. Harvest the mushrooms when they are young and firm before the caps start to flatten and the edges curl.
- Repeat the Process: After harvesting, the substrate can be reused to grow a second or even a third crop of mushrooms. Simply repeat the process from step 2 with fresh spawn.

Choosing a Substrate for Oyster Mushroom Farming
Oyster mushrooms can be grown on a variety of substrates, each with its own advantages and disadvantages. Here are a few options to consider:
- Straw: Straw is a popular substrate for oyster mushroom farming, as it’s readily available and relatively inexpensive. It’s also high in nitrogen, which is essential for mushroom growth. However, straw can be difficult to sterilize and may require additional nutrients to support mushroom growth.
- Sawdust: Sawdust is another common substrate for oyster mushrooms. It’s easy to sterilize and provides a good source of carbon for the mycelium. However, sawdust can be expensive to purchase and may require additional nutrients to support mushroom growth.
- Coffee Grounds: Coffee grounds are a cheap and readily available substrate for oyster mushrooms. They also provide a good source of nitrogen and other nutrients. However, coffee grounds can be difficult to sterilize and may require additional nutrients to support mushroom growth.
- Other Substrates: Oyster mushrooms can also be grown on a range of other substrates, including cottonseed hulls, wheat straws, and even cardboard. Each substrate has its own advantages and disadvantages, so it’s important to do your research before choosing one.
Tips for Successful Oyster Mushroom Farming
Here are a few tips to help you succeed with oyster mushroom farming:
- Start small: If you’re new to mushroom farming, start with a small batch to get a feel for the process before scaling up.
- Keep it clean: Oyster mushrooms are susceptible to contamination from bacteria and other fungi. Keep your growing area clean and sterilize all equipment and surfaces before use.
- Monitor temperature and humidity: Oyster mushrooms require a warm, humid environment to fruit. Invest in a thermometer and hygrometer to monitor temperature and humidity levels.
- Use high-quality spawn: The quality of your spawn will affect the success of your mushroom crop. Purchase spawn from a reputable supplier or make your own using a sterilized substrate.
- Be patient: Oyster mushrooms can take several weeks to grow from start to harvest. Don’t rush the process and be patient for the best results.

Conclusion
Oyster mushroom farming can be a rewarding and profitable venture for hobbyists and commercial growers alike. With the right substrate, spawn, and growing conditions, you can produce a high yield of delicious, nutrient-rich mushrooms in a relatively short amount of time. Whether you’re looking for a new hobby or a new business opportunity, oyster mushroom farming is definitely worth considering


